This is the journey of my DIY Frontyard Landscape.
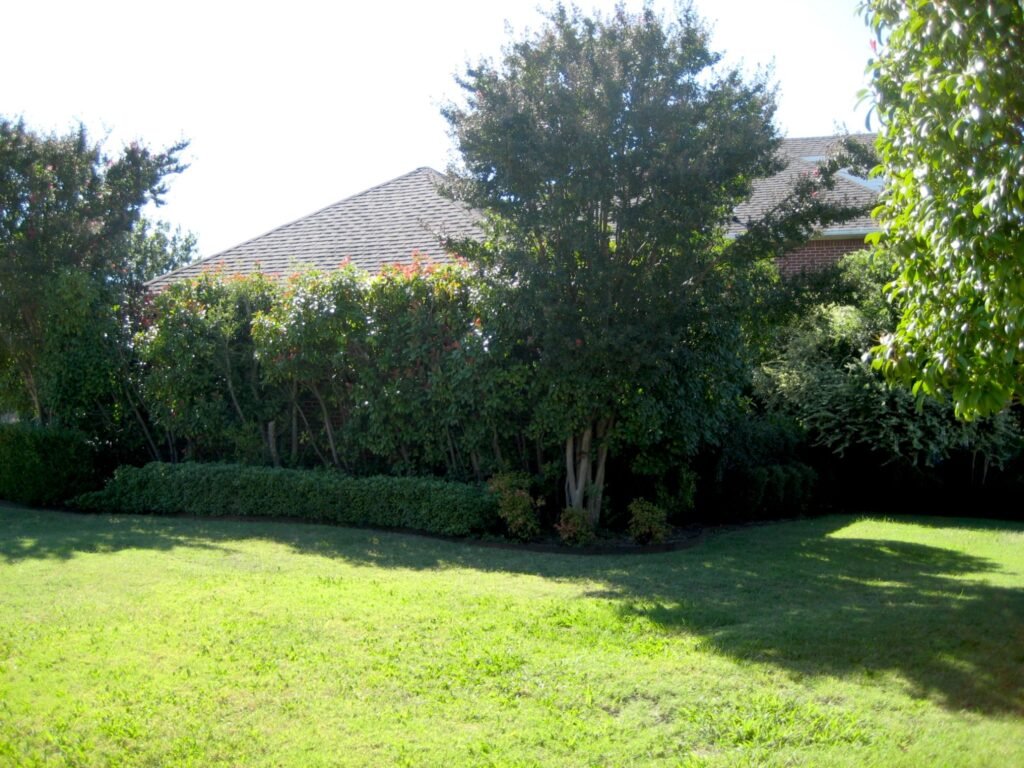
When we first moved in, we did some major landscape removals. There were (16) Red Tip Photinia “trees” around the house. They were big. And that’s a huge no-no in Texas. They can ruin your foundation.
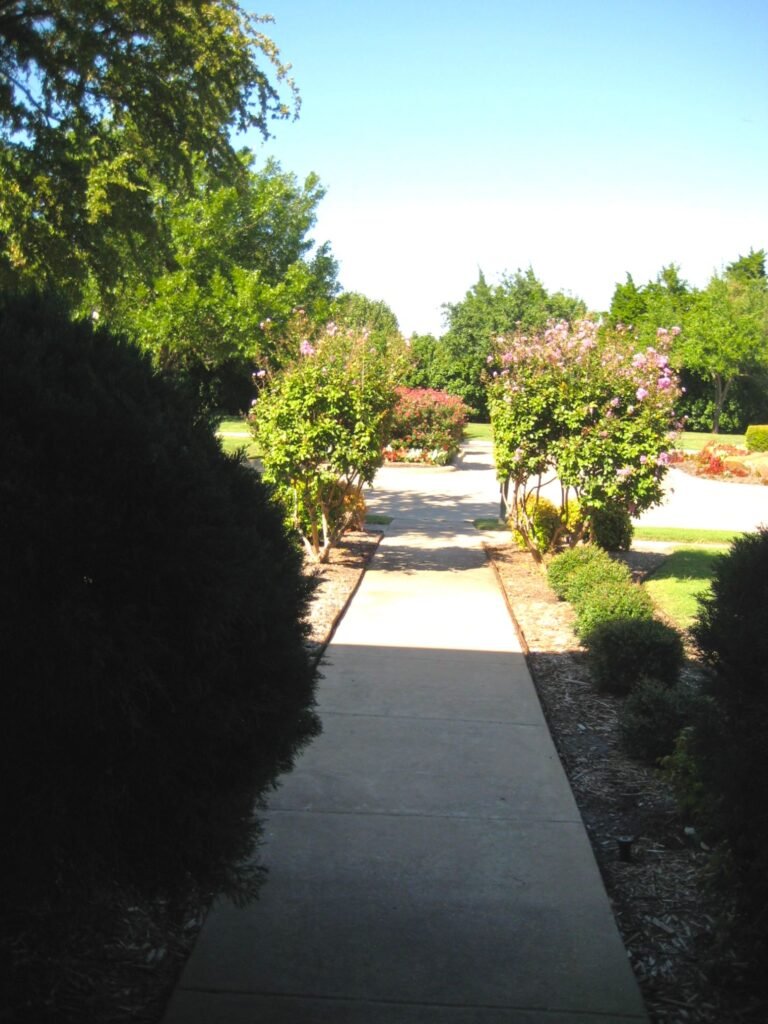
There were also large Crepe Myrtles down closer to the street. To me, they just felt out of balance for the whole yard. We had those removed as well. Here’s the before.
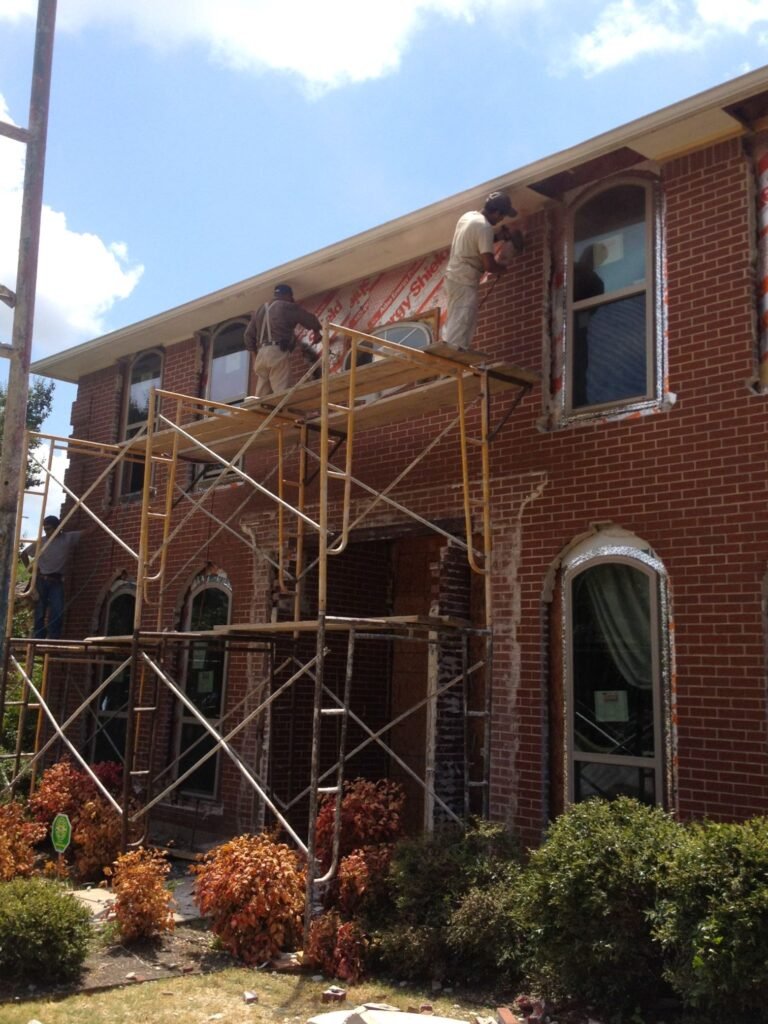
If you saw the post where I showed the transformation of the front elevation. (That post is here.) Then you know what a mess it was in our 3rd year. Scaffolding and men in front of the house for weeks. Piles of old brick, new stone, sand for mixing mortar.
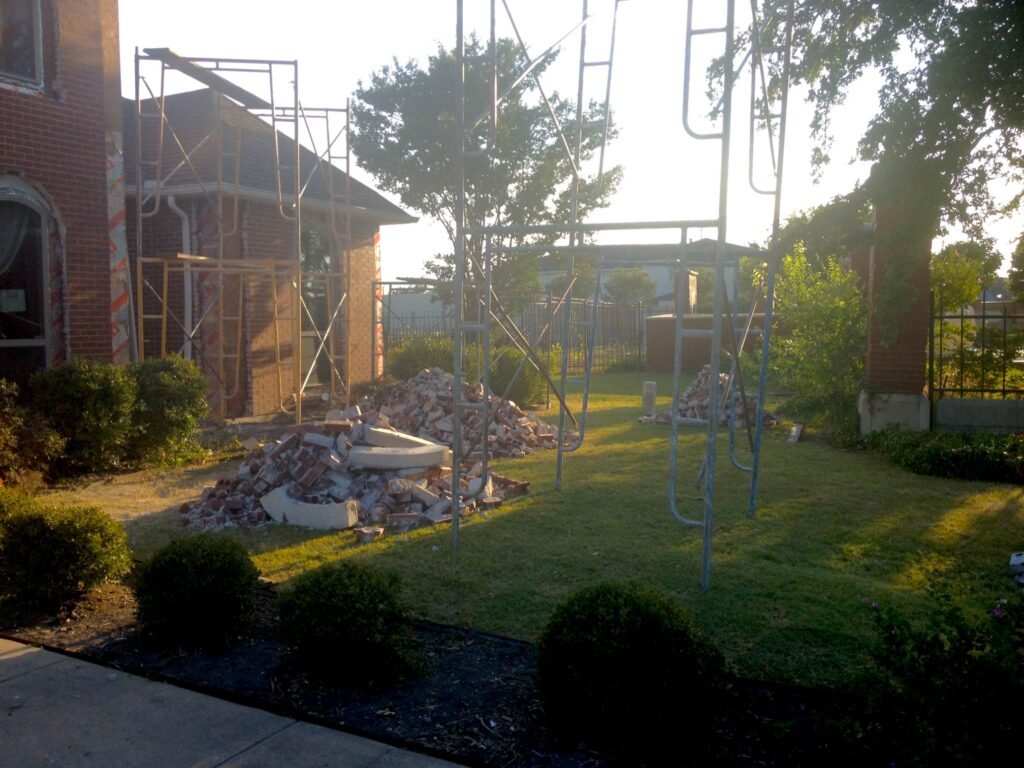
Some of the old landscaping actually survived the trampling. I reused it in the new design because I knew it could survive anything, lol.
Our DIY Frontyard Landscape Required Thinking Outside the Box
As much as I DISLIKED our original front yard, it would have been bad planning to attack this too early. And it would not have been fair to the remodeling contractors to expect them to be careful with new landscaping. So I held off. Turns out that was a good move.
After the remodel of our front elevation, we had our first rain. We quickly realized we needed gutters! BUT we couldn’t do front gutters with the new arched windows popping through the roof line. (Our architect could have warned us – but such is life.)
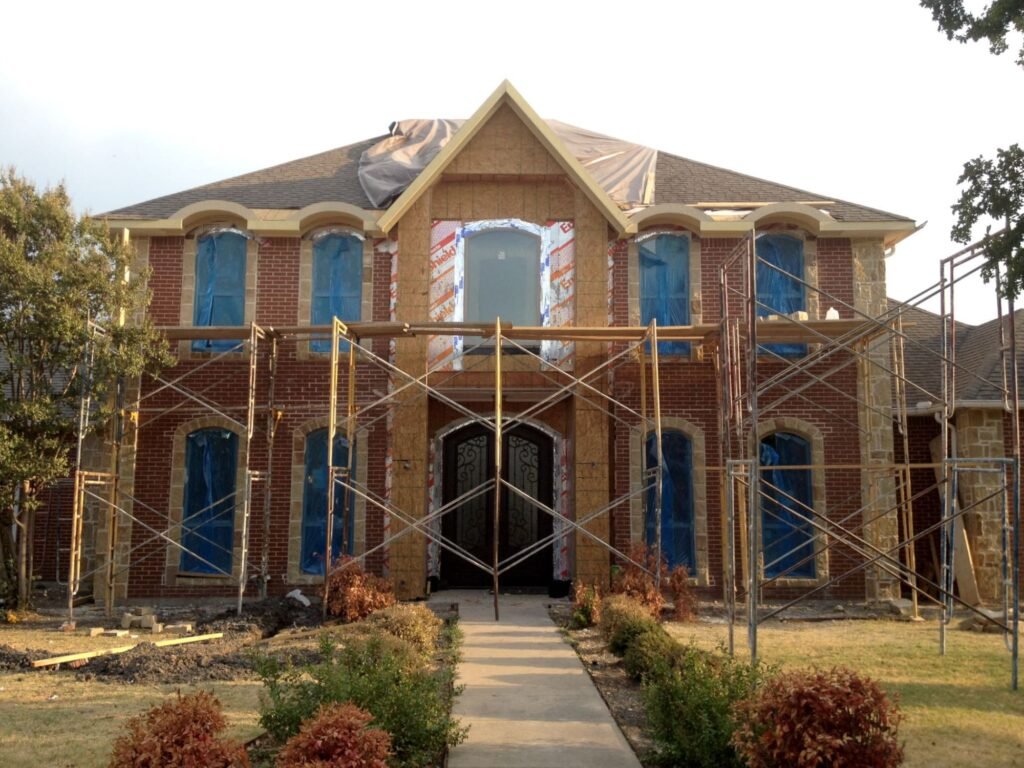
The water running off our high-pitched roof was ridiculous! Ideas started to flutter in. I knew “regular” flower beds in front of the house would not work. They would get washed away. So I had to think outside the box.
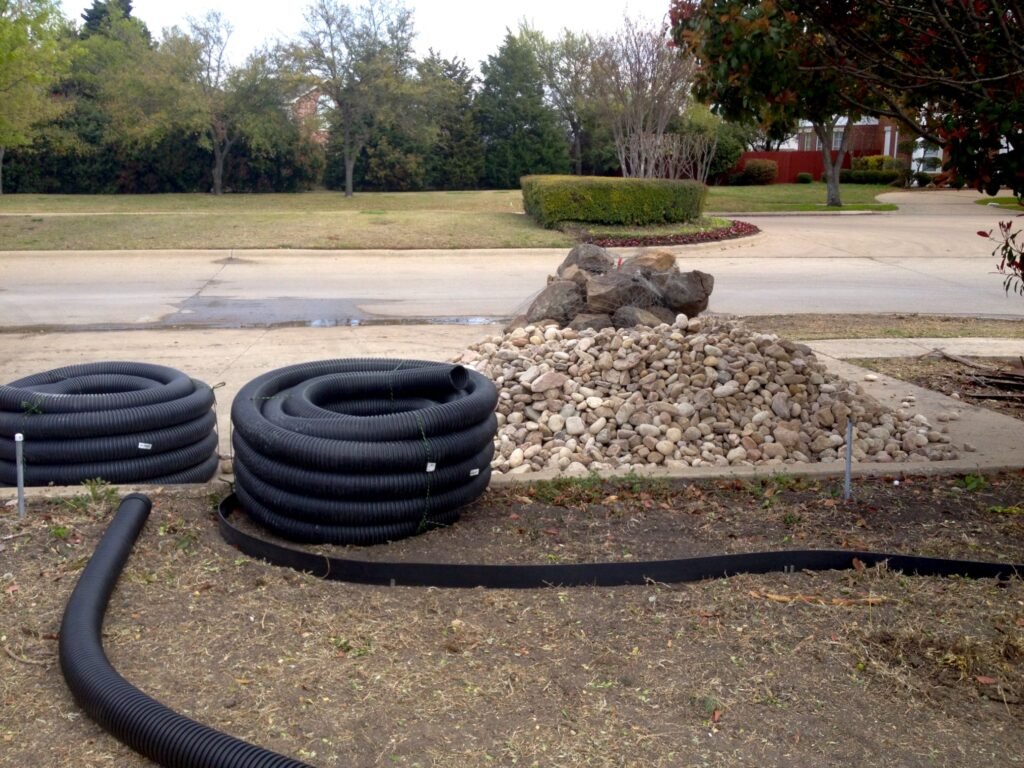
We ran French drains from the house to the street and designed “rock beds” right in front of the windows to catch all the water and move it. Then we designed the flowers beds just past the rock beds. It’s unique, and unusual, but works great.
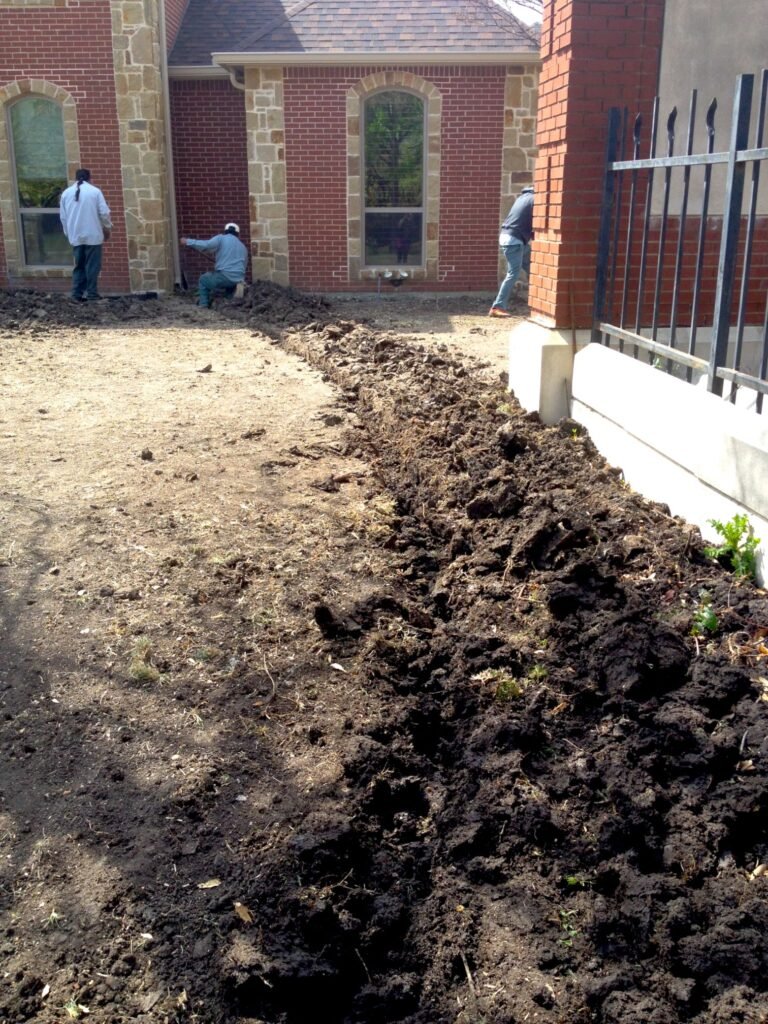
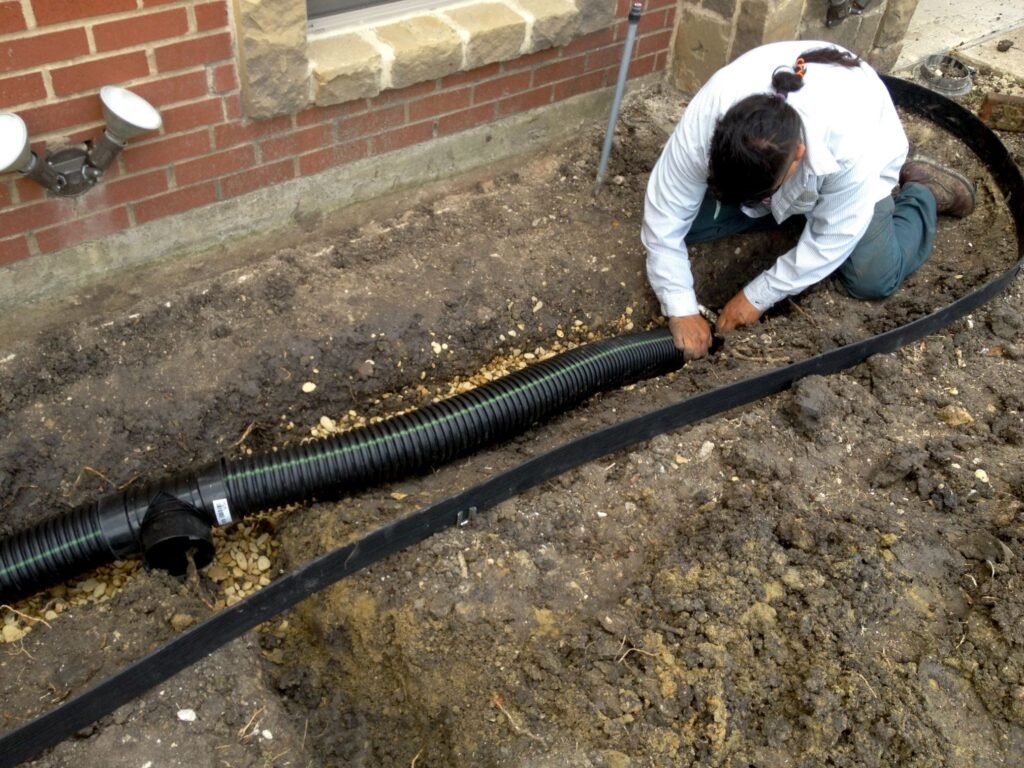
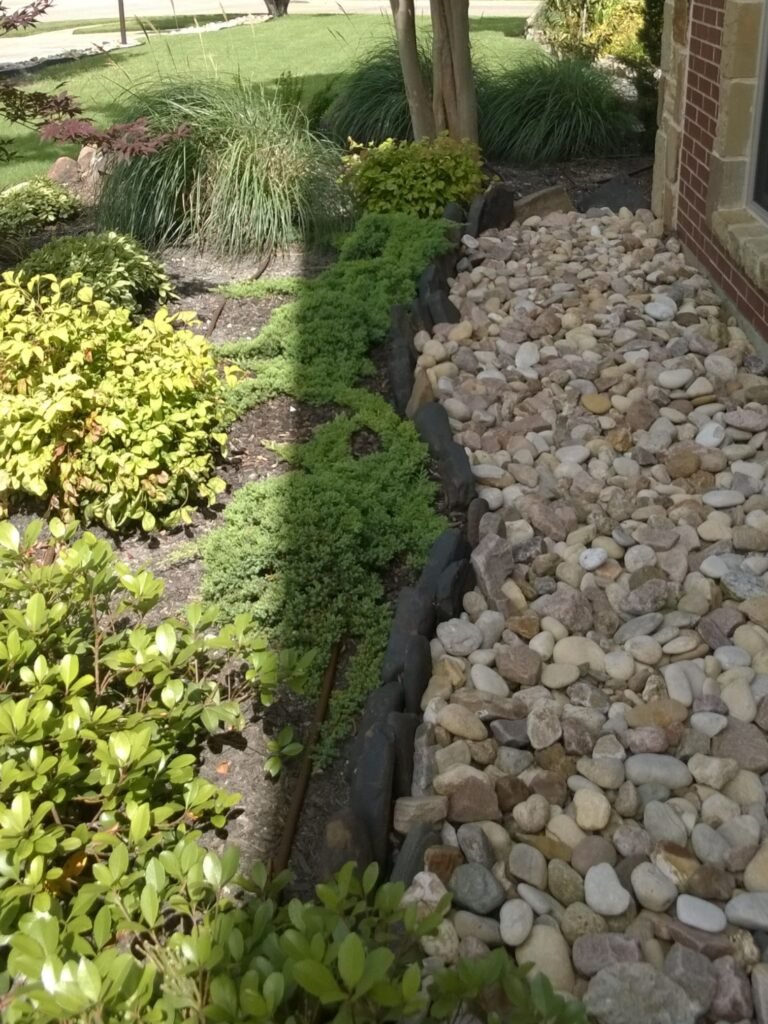
Where To Begin for Your DIY Frontyard Landscape Plan
I’ve done this for 3 yards so far. I start by driving around the neighborhood to see what other people have done. I also look to Pinterest for ideas. I make lists of the actual shrubs/plants I want to use. Of course, I try to choose plants that can survive our heat in North Texas.
And I try to use mostly evergreen plants for 85% of the look. Because I don’t want completely brown flowerbeds in the winter.
Plant Size for your DIY Frontyard Landscape Plan
Everyone has their own unique style, but there are general rules that are helpful. It makes more sense to place taller shrubs next to the house. Shorter varieties in front of the taller ones. But you should NOT do this based on the way the shrubs look in the containers at the store.
If you don’t know your local plants very well, it’s important to study the growth habits of each plant BEFORE you place them in your landscape plan. You can look up this information online and find it on most plant tags. You’ll want to check to see what the plant’s full-grown height will be and full-grown width. Also what it needs in terms of sunlight and water.
If you place plants that require lots of water next to plants that prefer little water, it could present more work for you. Speaking of work, you don’t want to create more work for yourself. By putting plants, that will eventually grow big, where they will constantly need to be trimmed back.
Here’s a good example of this point in the photo below. You don’t want the FUTURE full-grown height of shrubs to obstruct your views (unless that’s what you’re going for). And although it’s tempting when plants are small, it’s best not to place them too close together.
Instead, use the full-grown width on the plant tag as your guide. Otherwise, they could end up crowding each other and become unhealthy.
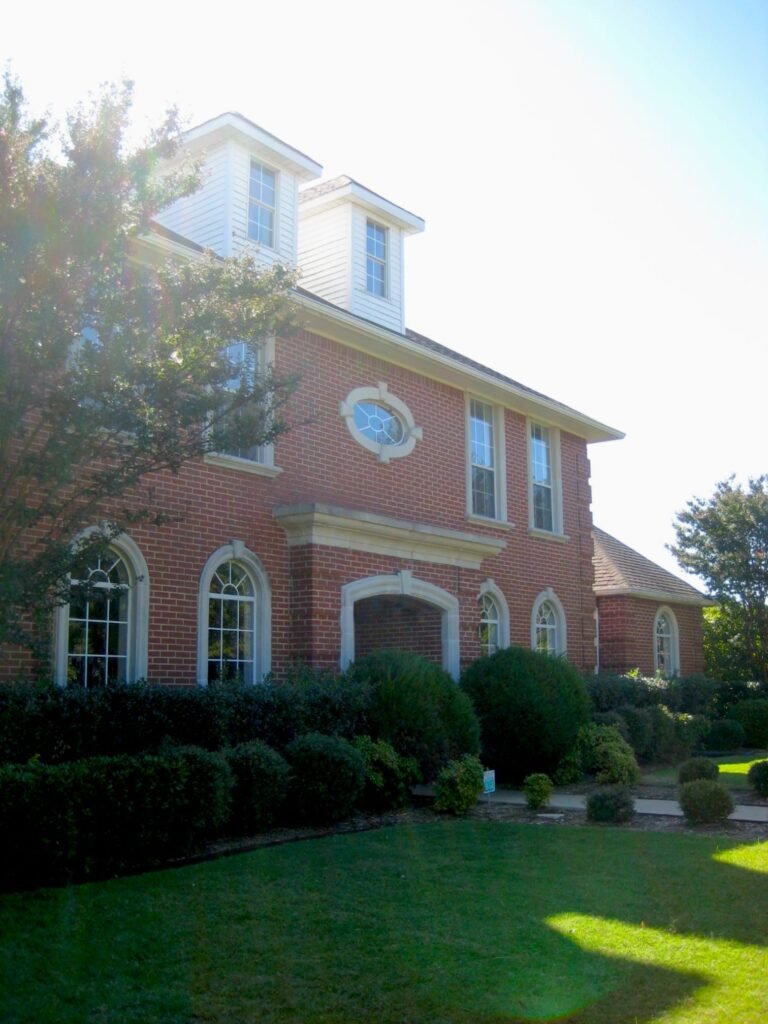
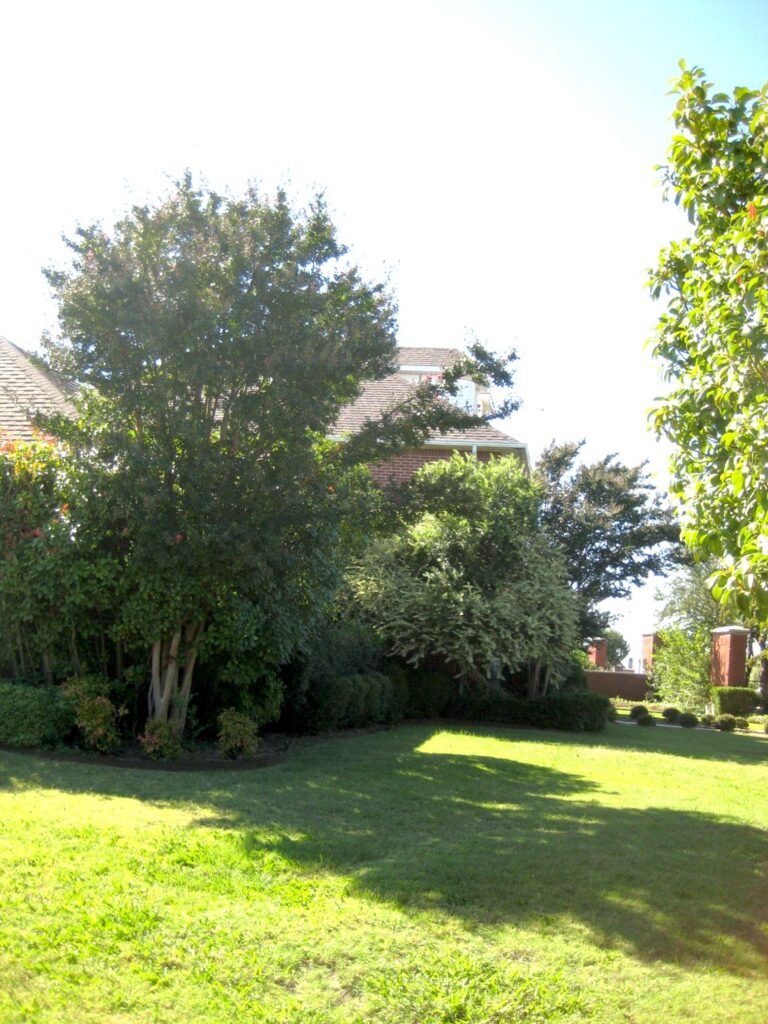
Here are two examples of what NOT to do. Prior to the renovation, these shrubs were obstructing our front view. And in the second photo below, you can hardly tell it’s a two-story home. The shrubs were swallowing that side of the house.
Sunlight for your DIY Frontyard Landscape Plan
Sunlight is another hugely important factor. You should be very aware of how the sunlight will affect your plants throughout the day. For example, morning sun is more tolerable than afternoon sun.
You may be able to place a shade-loving plant on the east side of your home where it will only receive a few hours of diffused morning light. Then be shaded by your home the rest of the day. Studying the growth habits of the plants you like will be a tremendous help.
Also look at other homes that are facing the same direction as yours. Do they have healthy plants that you like? This is a great opportunity to meet your neighbors and ask questions about their plants. Most people love to brag about their yards 😊
And don’t forget color. Plants with and without flowers can come in all sorts of colors. And sometimes the colors change with the seasons. Our home had 4 mature Crepe Myrtle trees when we purchased it. There was no way we were taking them down. But if I had my way, they would be the dark red variety and not pink. They clash with my brick, lol.
Creating a Rough Plan with a Landscape Sketch
After I’ve done my research. I have a general idea of what I’d like to see. I make a list of all the plants I like. I take thorough measurements of each area in my yard. And I start sketching it out on paper.
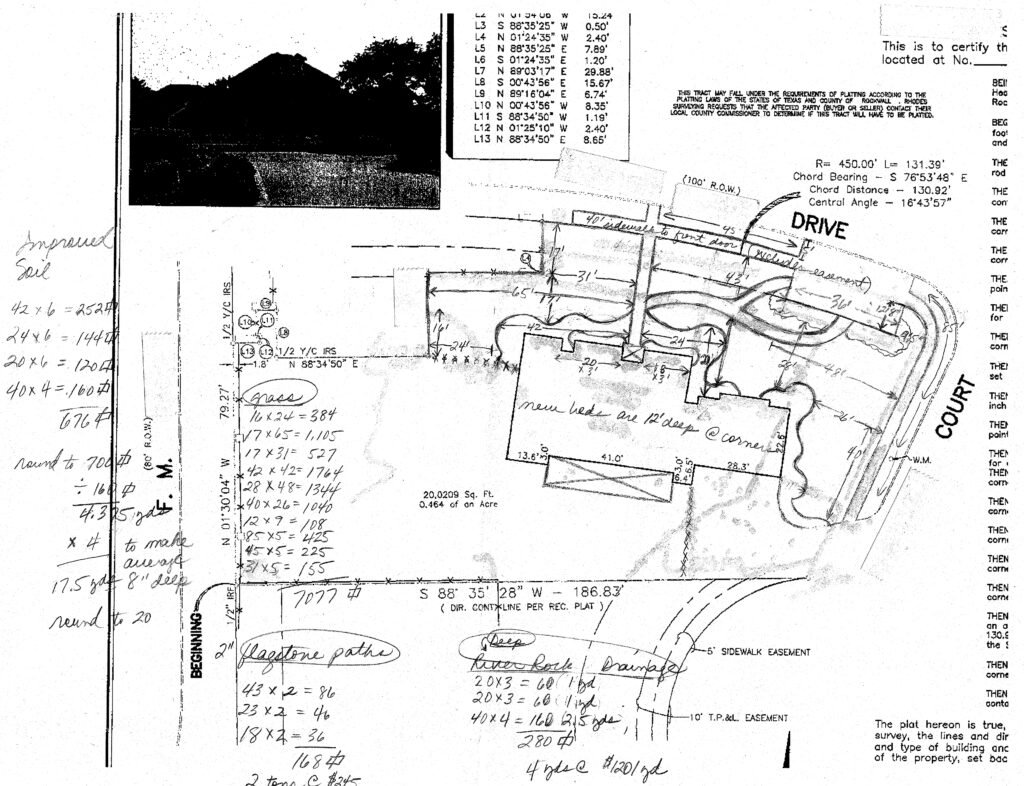
If possible, I prefer to use a copy of the survey plat. That way I can see the potential obstructions and opportunities for visual interest. It also helps me so I can sketch to scale. And if you’ve never used an architectural ruler, it’s not hard. You can find how-to videos on YouTube. Super helpful know-how for any sketch.
Using a pencil, I start with the placement of the beds and shape of the beds. If I had it to do again, I believe I would have fewer flowerbeds. It’s important to consider future upkeep like weeding and mulching.
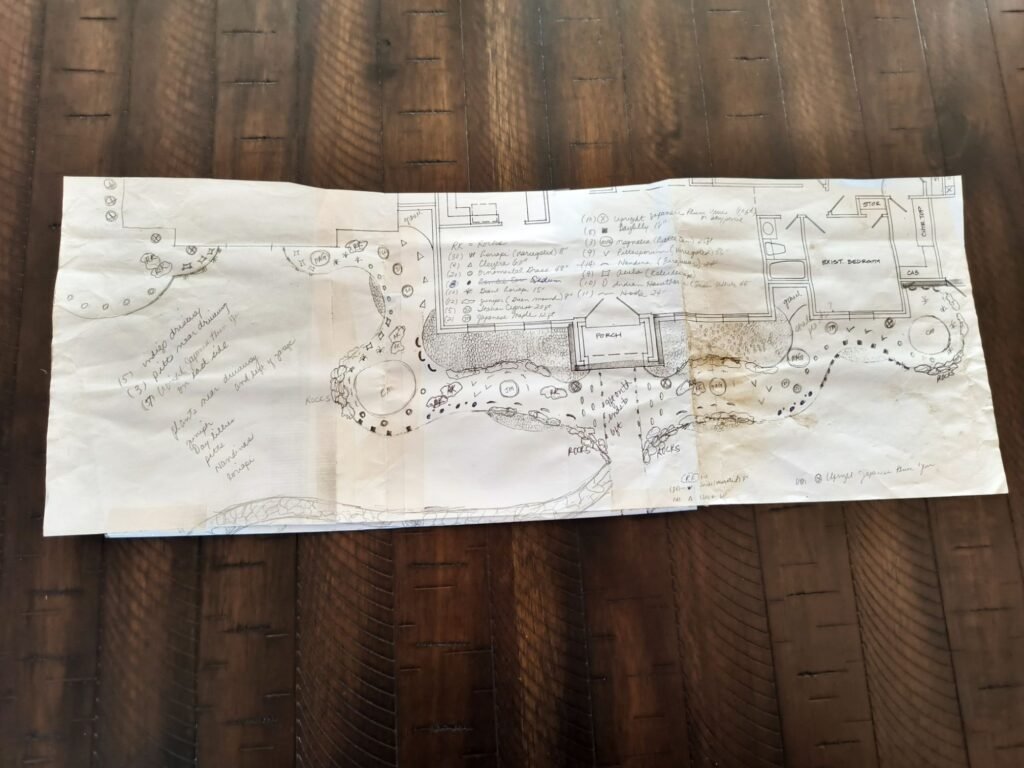
I sketch, erase, change, add, subtract, re-measure, etc. When I’m happy with the placement and shapes, I start placing plants from my list, on my sketch. I do this with small visual symbols. For example, in the rough sketch below, I have a legend that describes what each symbol means to me. (Circles are generally trees). I am visualizing everything as I put it on the sketch.
I mentioned above Thinking Outside the Box. The sketch below shows it before it was reality.
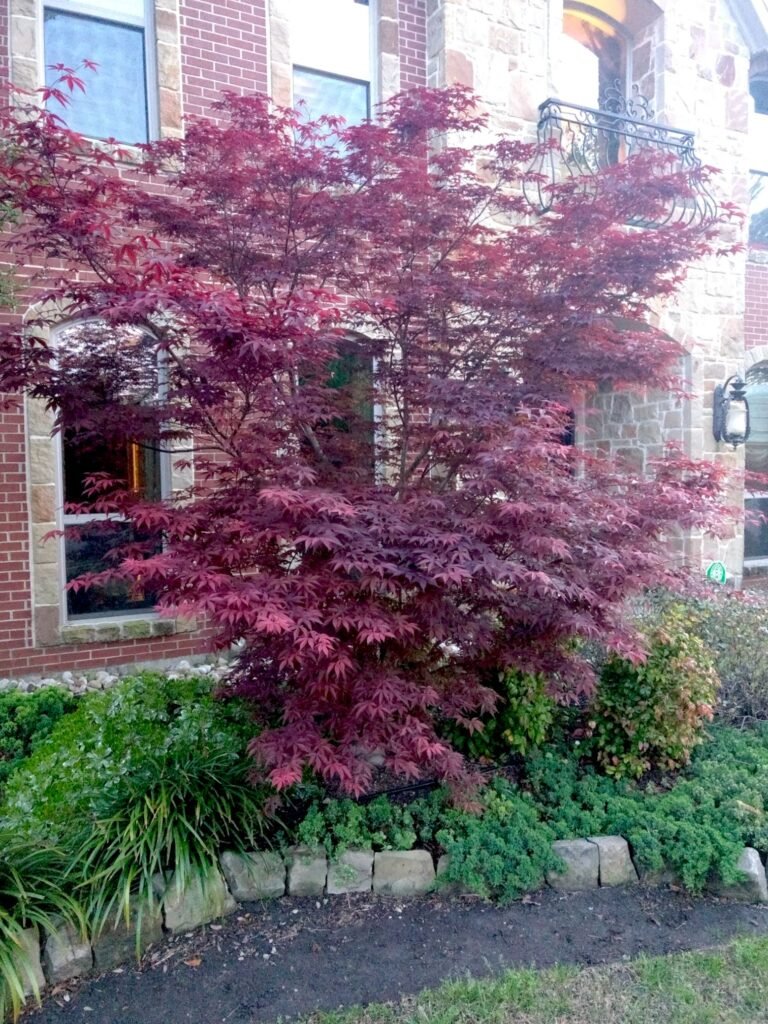
Keep in mind, big rocks and statues are beautiful too. You don’t have to use all plants in your design. Specimen trees are also nice focal points. This red Japanese Maple is our main focal point in this large bed. I placed it so I could easily see it from inside the house too. Of course this is after it had matured a few years.
Determining the Cost for Your DIY Frontyard Landscape Plan
You’ve tweaked your sketch (multiple times) and gotten things to look balanced and pleasing to you. Now what? You have to research the cost of the WHOLE plan. This might mean you have to bring it to life, in phases or change your plans to accommodate your budget.
Knowing the measurements of our whole yard, I started pricing out our different needs/wants. We have a huge corner lot, so our project was large compared to the typical front yard.
Our list will more than likely be different from yours. But I’m hoping this list will help you get started on your own. I needed to factor in costs for all the following issues.
- Drainage (labor for digging trenches; pipe; pops ups; connectors; labor for laying pipes)
- Sprinklers – our yard had existing sprinklers, so we just had to move a few sprinkler heads
- Rock Beds (super thick weed block plastic; edging; loads of rocks; delivery; labor to move rocks)
- Grading – it’s important to guide rainfall to the most advantageous places (labor for grading)
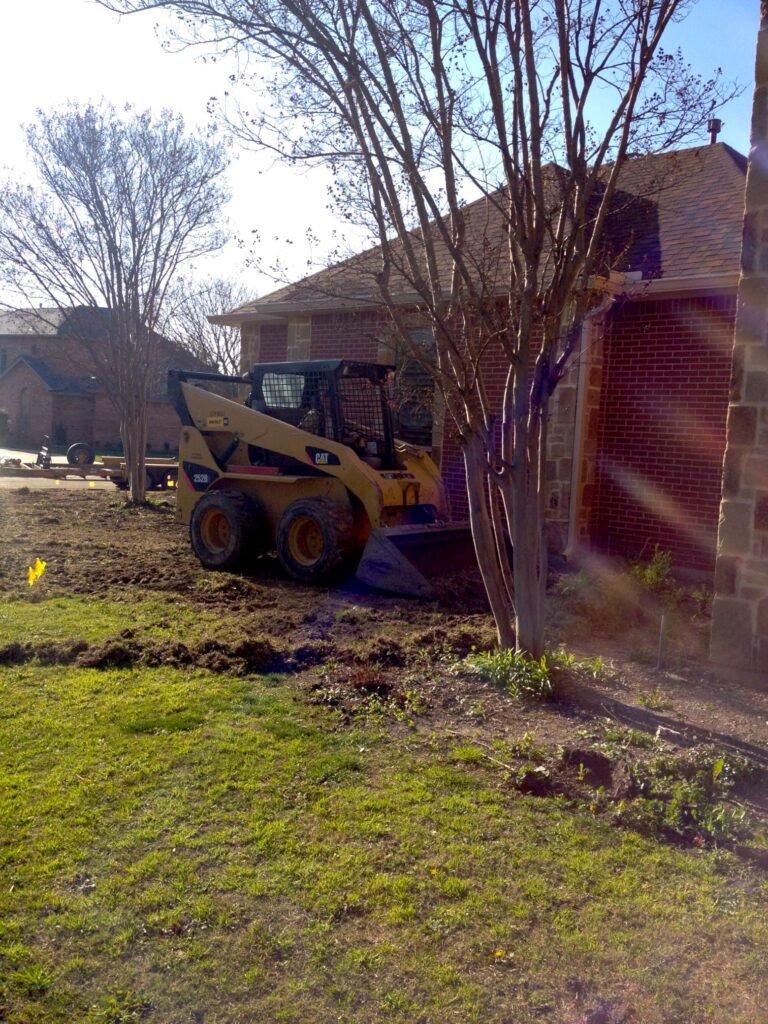
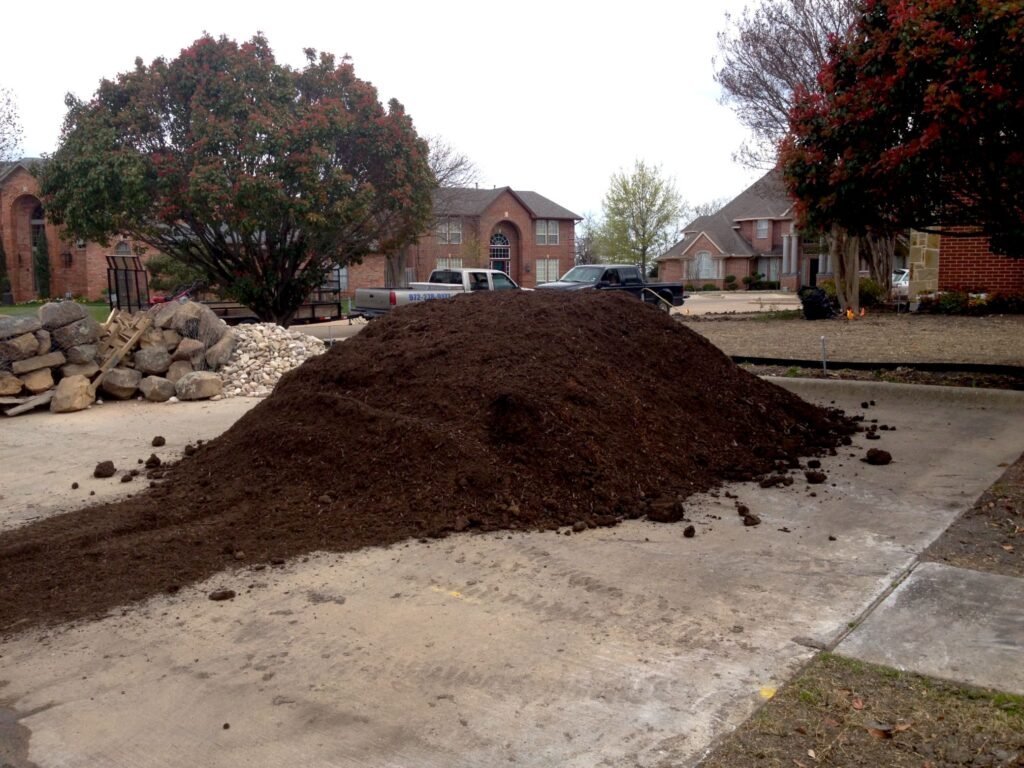
- Improved Bedding Soil (labor for tilling; loads of bedding soil; delivery; labor to move soil)
- Small Boulders (loads of boulders; delivery; labor to move/stack boulders)
- Plants
- Trees
- Mulch (loads of mulch; delivery; labor to move mulch)
- Sod
I created a fancy, schmancy Excel Workbook with several detailed sheets showing all the descriptions; costs for each; and totals. I think that’s my favorite part. But prior to that, I was “hen-scratching” on my paper sketch 😊
Phase 1 of our DIY Frontyard Landscape: Literally the Groundwork
We had to break up our massivie project into three phases. This phase was all the stuff that’s not pretty but is totally necessary. The drainage, moving sprinklers, the rock beds, tilling the soil.
Phase 2 of our DIY Frontyard Landscape: The Plants!
While researching plants, I found that if we drove to Forest Hill, Louisiana, (314 miles one way) we could purchase direct from the nurseries.
In 2013, with the size of our plant list, that meant we could save $2,600. And that was factoring in the cost of a big truck rental, the gas to/from and a hotel for the night.
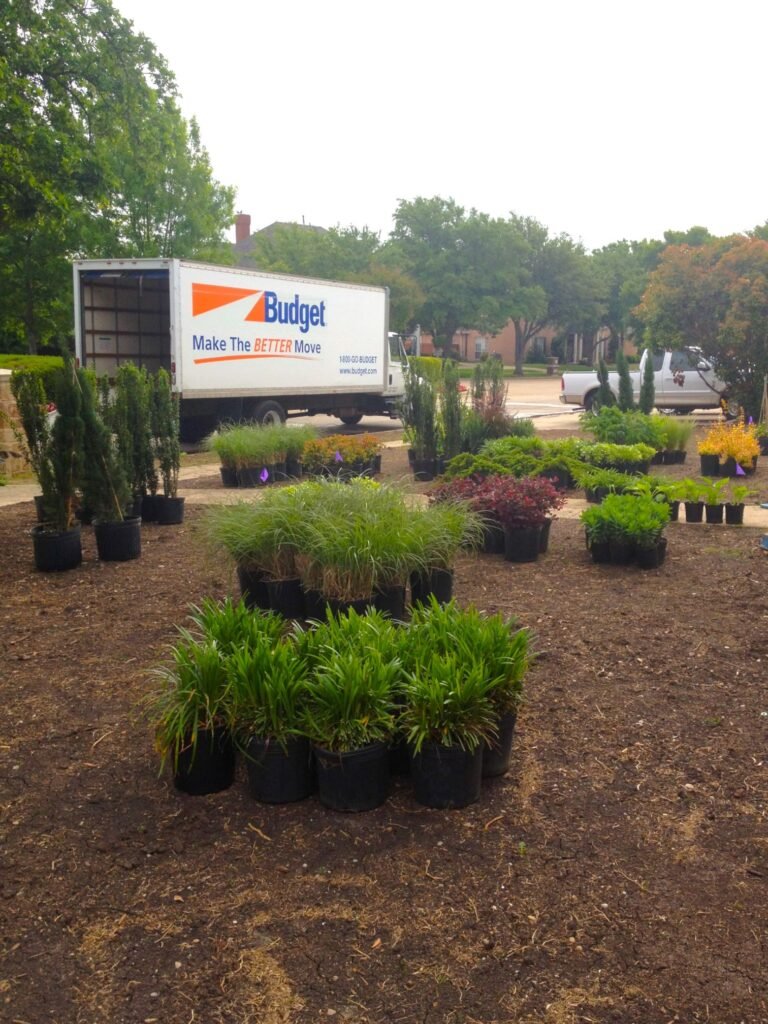
So we rented a big truck and off to Louisiana we went! I was in heaven. Plants as far as the eye could see. And there were sooooo many nurseries. But we made our bulk purchase from Doug Young Nursery.
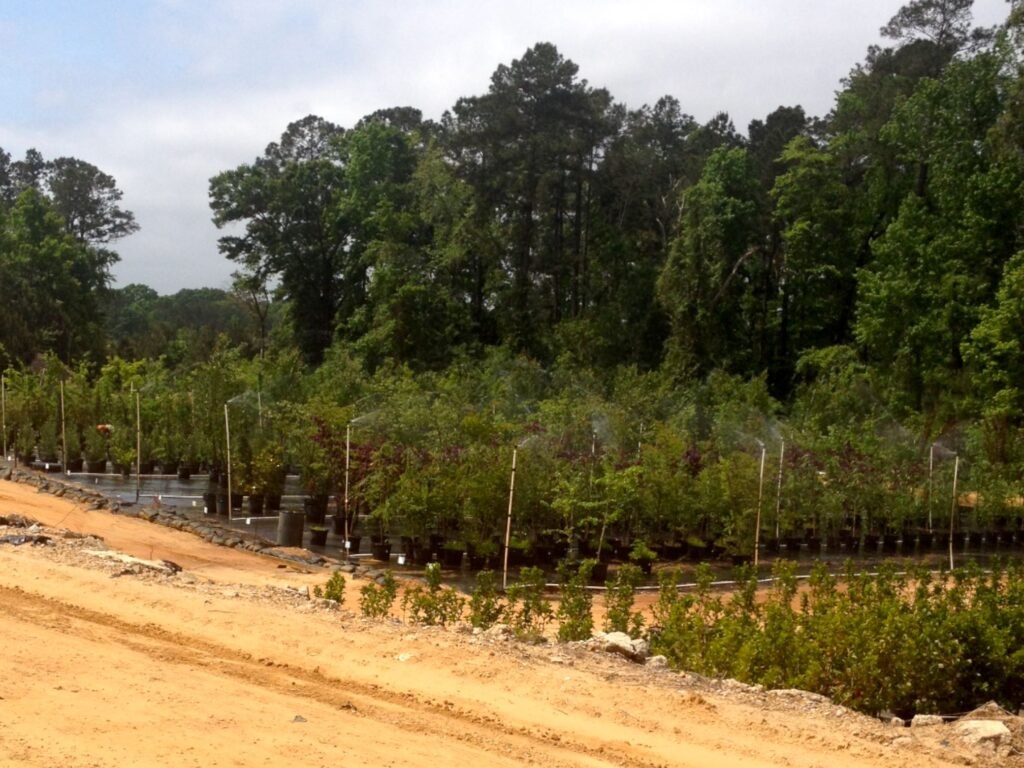
It was a Thursday when we left town. We made our purchases on Friday and drove back that evening. Then Saturday and Sunday were installation days.
The truck was full of horticultural beauty!! I could hardly wait to get it spread around.
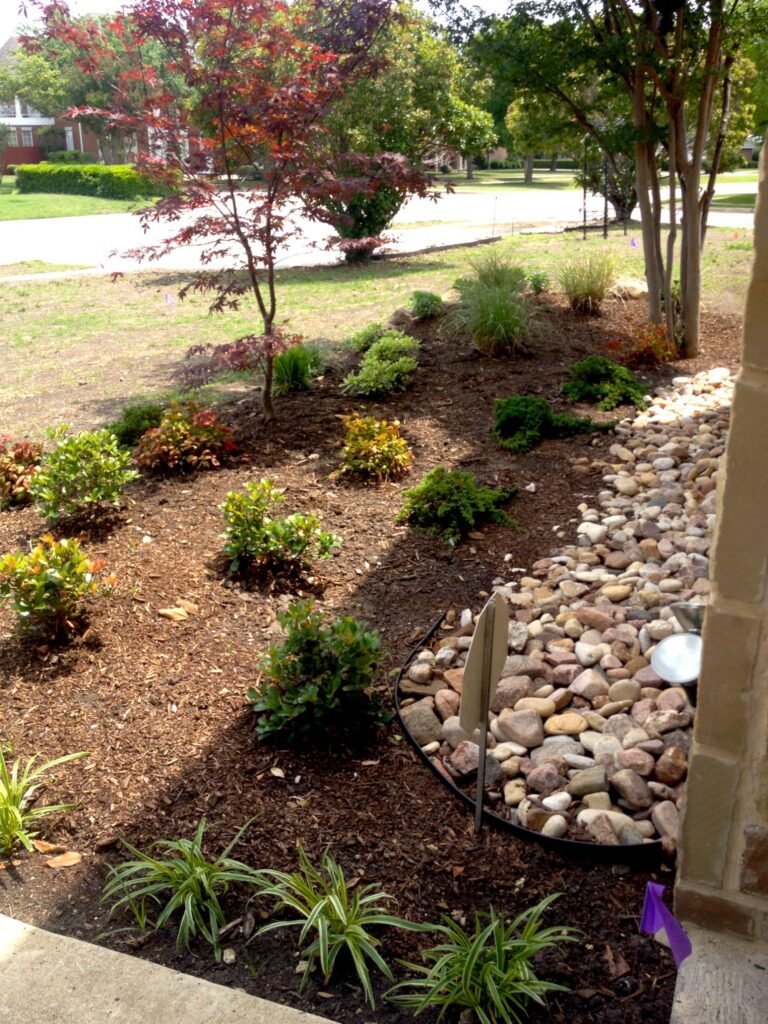
Freshly installed beds are cute but not beautiful. Everything is so small and young. Look how small our Japanese Maple was!
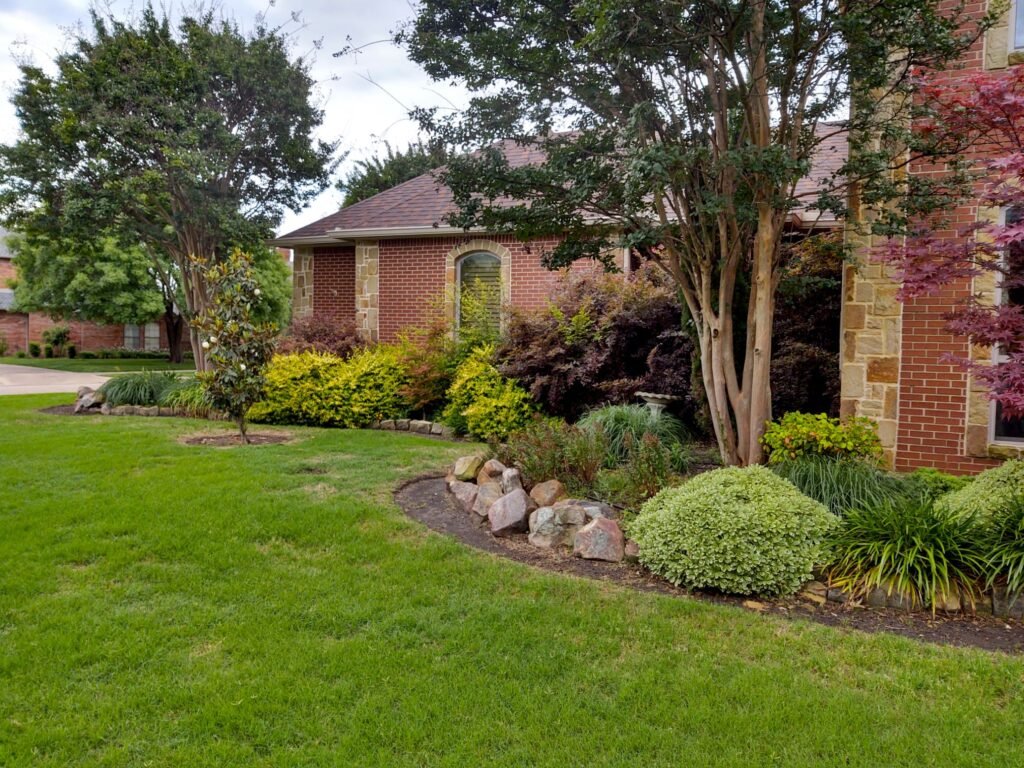
Here we are a few years later. You can see I’ve added color with just the selection of plants.
Phase 3 of our DIY Frontyard Landscape: the Sod
If I had my way, we would install that beautiful artificial stuff they have at all the big hotels in Vegas. It’s GORGEOUS and you don’t have to water it. Some of it has built in thatch and looks so real. But it’s beyond expensive. Our front yard would need 7,600 sq ft. And Prince (aka hubs) is not a fan.
We opted for Tif 419 Bermuda. It’s very hearty in North Texas and I am not a fan of St. Augustine. So Phase 3 was a big pizza party for our closest friends/family and we spread sod. (We’ve paid it forward many times so we were not feeling guilty, lol). It was actually a fun day.
Somehow, I lost or didn’t take pictures of the fresh install. But here it is (one year when we were not having water restrictions ☹)
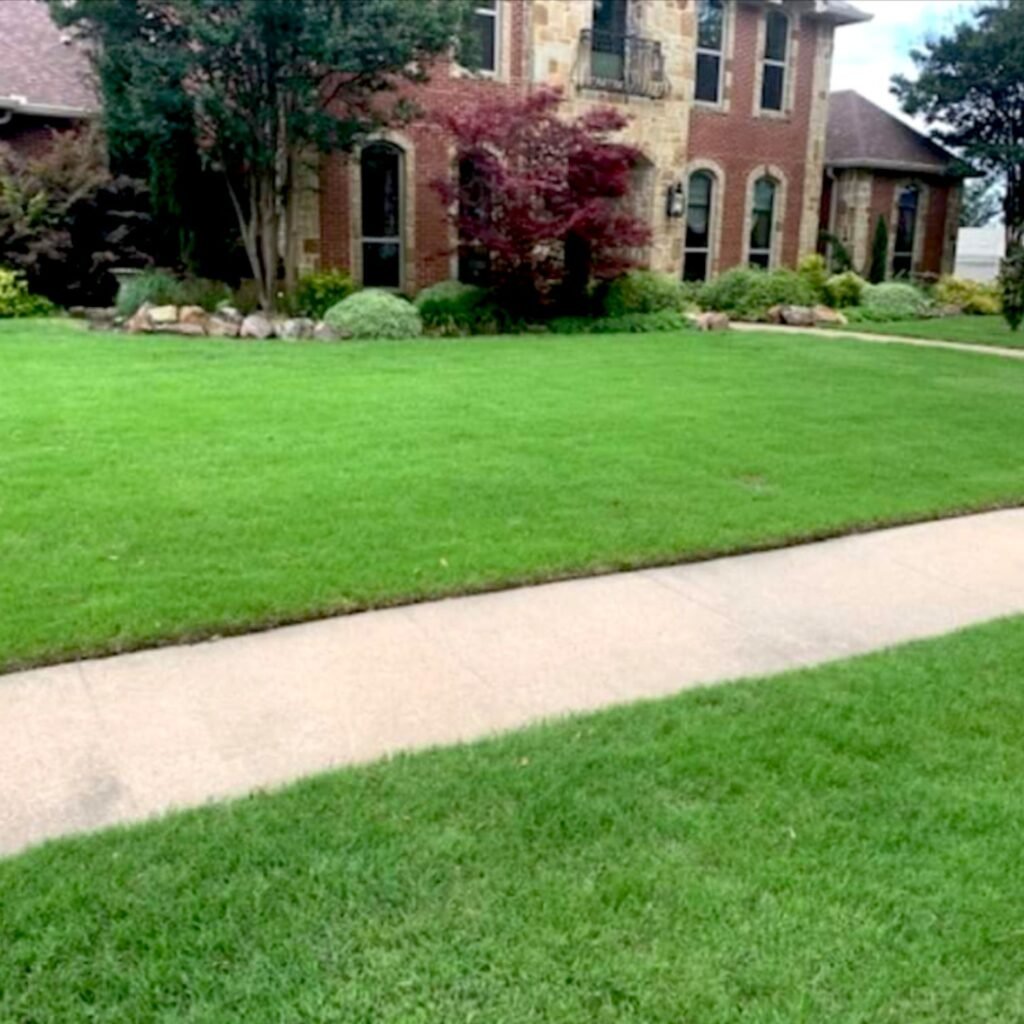
10 Years Later
Through the years, we’ve lost some things, moved some things around. But most things have done well and have become established. We don’t have to fight big shrubs out of our view. We do add in mulch every other year because it naturally breaks down.
Take Away
Put lots of forethought and research into your landscape project. Be patient and don’t get ahead of yourself. Try to visualize the whole thing and think in phases.
And sometimes “problems” can be serendipitous. I love my unusual rockbeds and flowerbeds 😊
Here’s to Doing It Yourself and Making it Fabulous!
Please Share
Know someone else who might find this helpful? Please don’t forget to LIKE and SHARE, it really helps me 🙂 Easy buttons found just below.
Feeling Motivated? Find Even More Inspiration for Home Improvement
Check out these other posts for Overhauls
You might also be inspired from other posts in my DIY category
